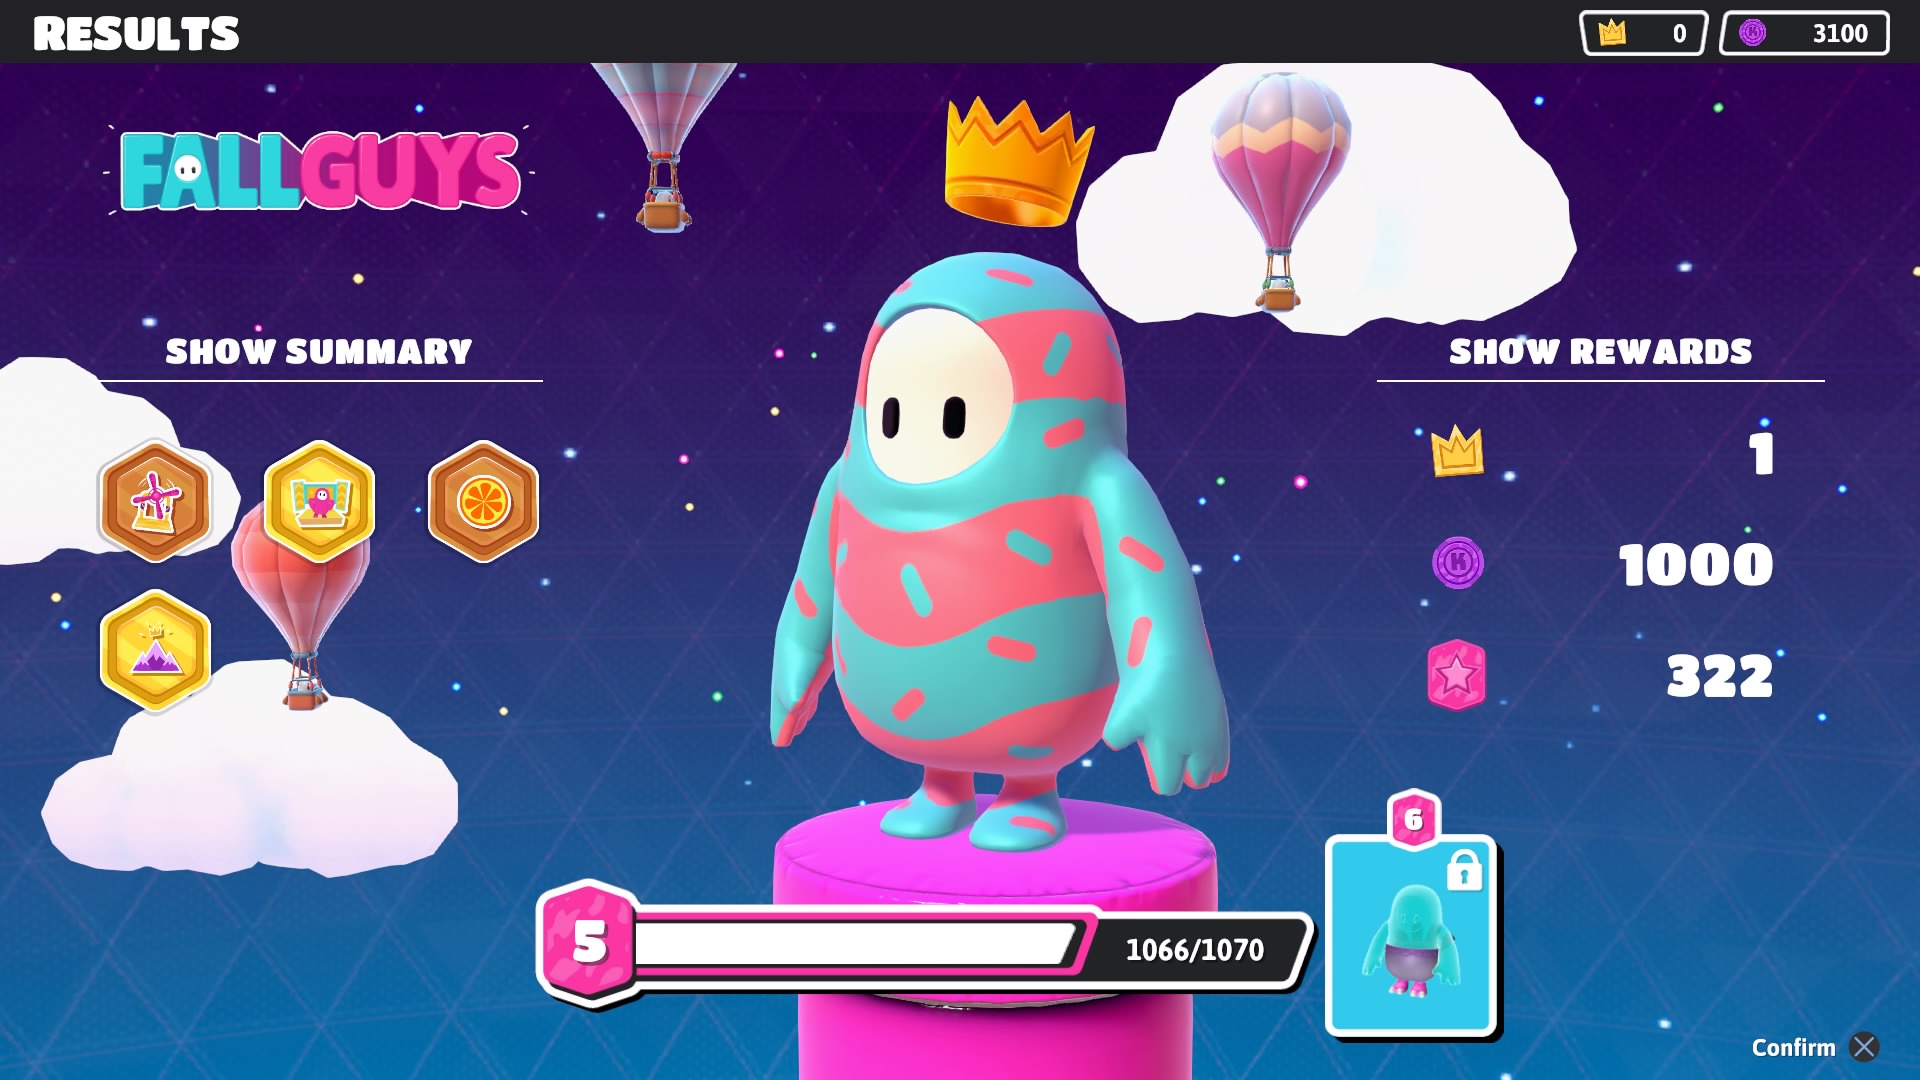
Take some Ws
So Fall Guys. I’ve been playing Fall Guys on the PS4 ever since it released and I totally get the frustrations of not being able to take a win. Especially when you managed to get to the final round. Or you win once (whether it’s the game or just a specific minigame) and never won ever again. Well, to help players out a little bit, I decided to write up some strategies while I’m actually playing the game. This won’t guarantee you wins, but it will certainly give you a fighting chance.
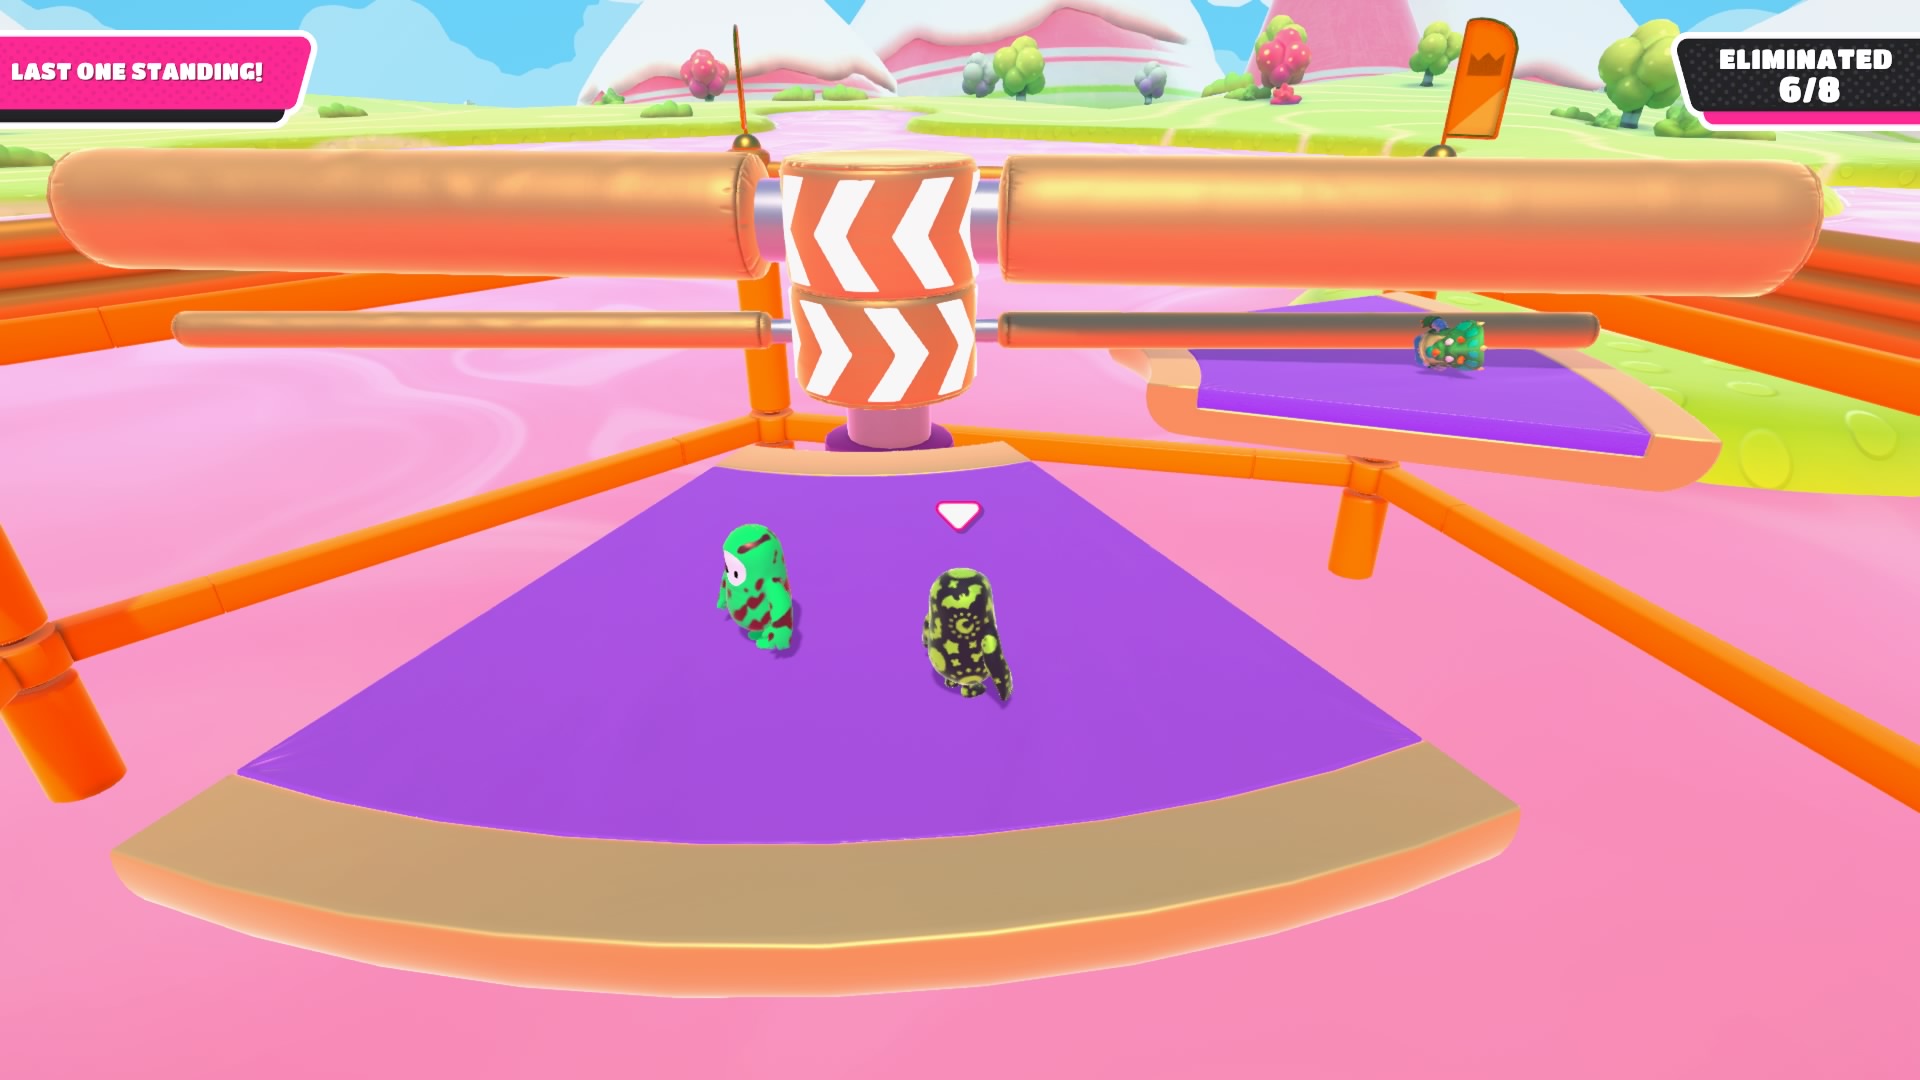
Race
Dizzy Heights
This is pretty straightforward as you’ll be jumping onto a lot of rotating platforms in the beginning. Here, just try to jump on the platform that is going the direction you already are. In the second set of rotating platforms, it is a bit faster to go on the right side as the last platform goes in a direction that favors it. When you get to the rolling balls, it can be faster to switch between rows if they don’t spawn at the same time. Lastly, you’ll reach onto huge rotating platforms stacked on each other with balls rolling down from the finish line. Dive onto the first one to minimize the amount you roll.
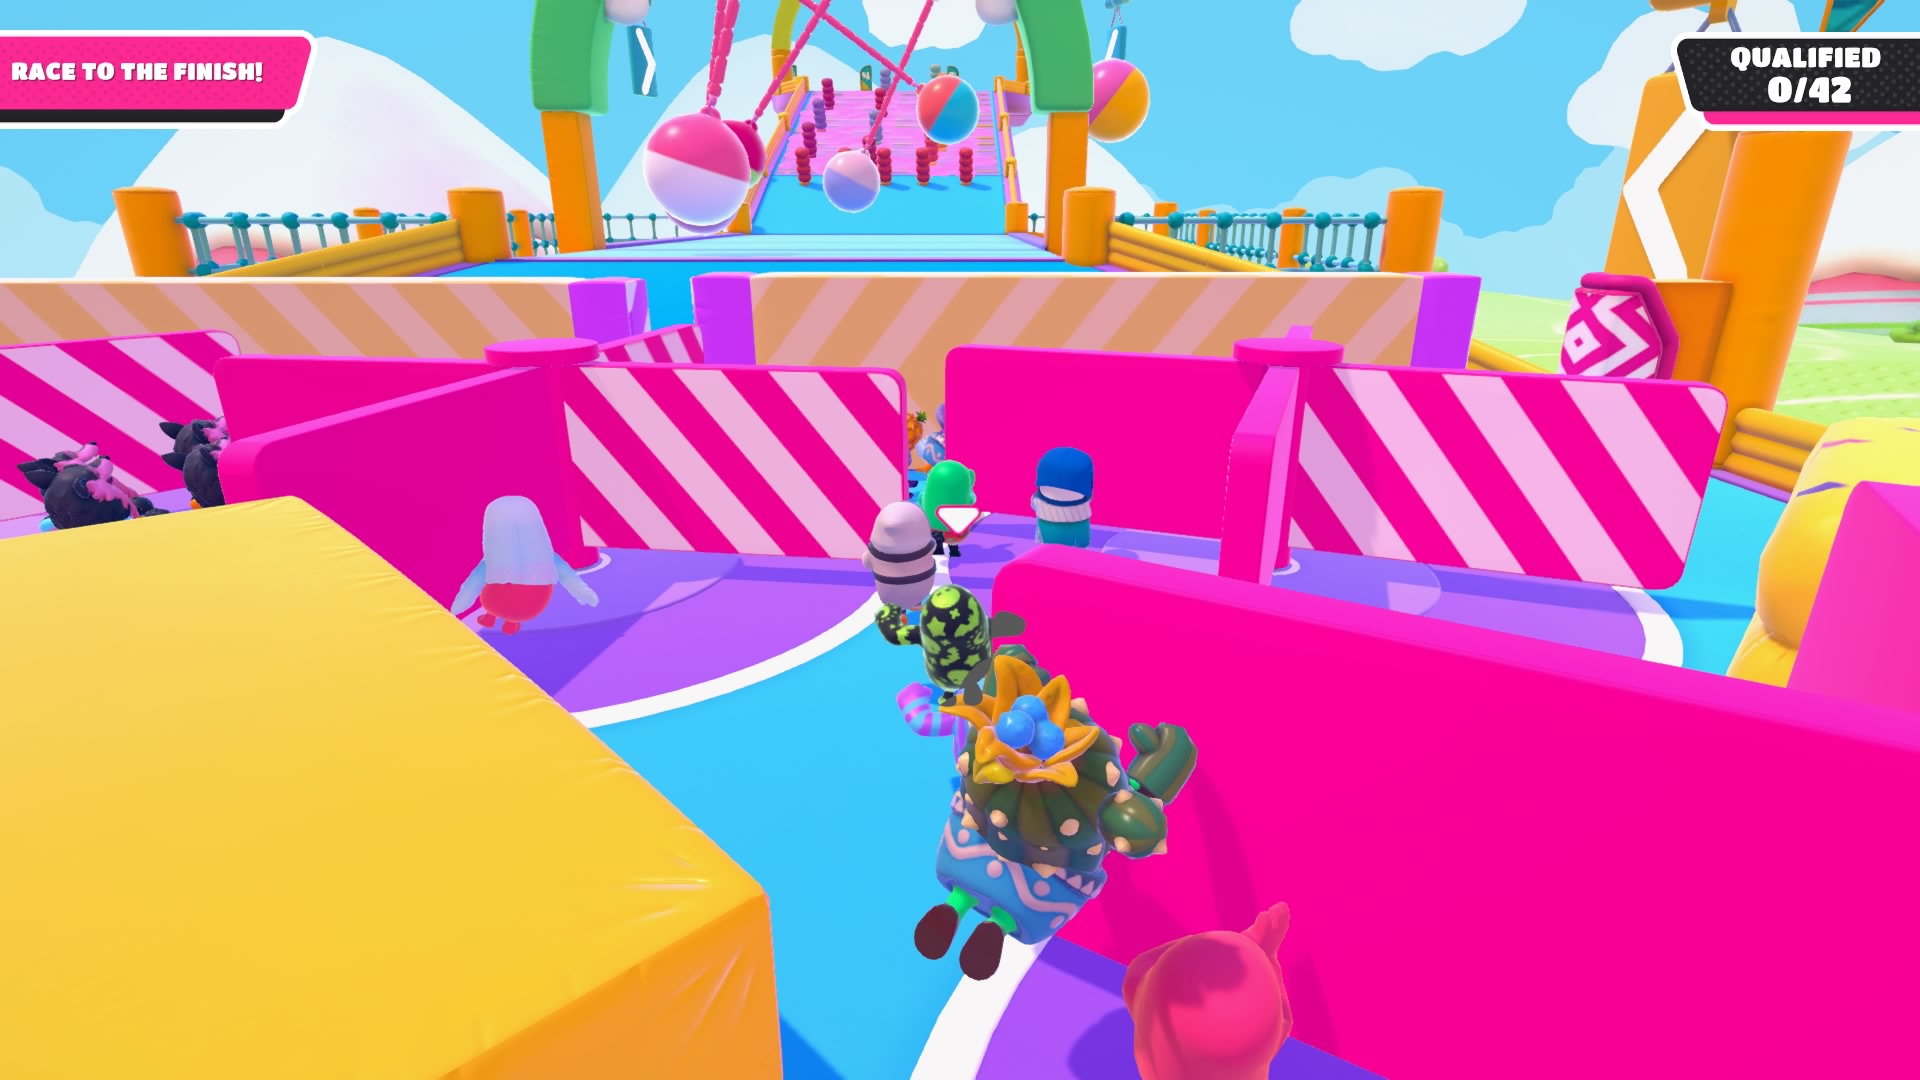
Hit Parade
Hit Parade is an obstacle course that gives everyone a fair chance. You start by needing to run on balance beams, but if you fall you’ll go down a slippery slope. This actually doesn’t really slow you down as those that fall will arrive to the next obstacle at the same time as those that ran across the balance beams. The next obstacles are these gates that spin the way the other players are pushing. Don’t fight against the crowd with this as you won’t win. You’ll then arrive at a gate that opens in the middle or the sides. Getting to the sides takes more time, but at the same time it’ll take the same amount of time if you get caught in the stampede in the middle.
The next section includes wrecking balls with alternate directions. I found following the one you’re in front of help a lot (if the one you’re about to go in front of swings left, move to the left with it). Lastly, you’ll get to a slippery slope that goes up with a bunch of moving obstacles. The best way to go with this is sticking right on the walls on the left and right as the moving obstacles can’t reach.
Door Dash
This one will give you a lot of doors with only some being real. The best position is to be in the front, but have some of your opponents in front of you. This gives you the benefit to seeing which doors they tried, if it was a real door you can quickly jump through, and miss the huge stampede (and if you will get in the stampede, try going to another door). I believe the real door pattern is 5 – 3 – 2 – 2 – 1. Also, when you jump through the last door, dive so you can get up faster.
Sadly, this is one minigame that you can’t recover if you fall behind.
Gate Crash
This one is all about timing and knowing the routine of the moving gates. It’s best to run to the gate already up rather than the one down as by the time you’ll get there, it’ll change position. After a few times playing this one, you’ll also get to know the routine of the gates and know when they will move down/up. If you think you won’t make it in time, you can dive as you can make it over if the gate hits you right on the belly.
The last part will require you to slide down a slippery slope and jump to a finish line blocked by gates. Unlike what you think, you do not have to run down and then jump, you can stop and jump if you want. Anyway, don’t aim for a gate that is closed when you’re at the top, pick one that is closed by the time you’re halfway down.
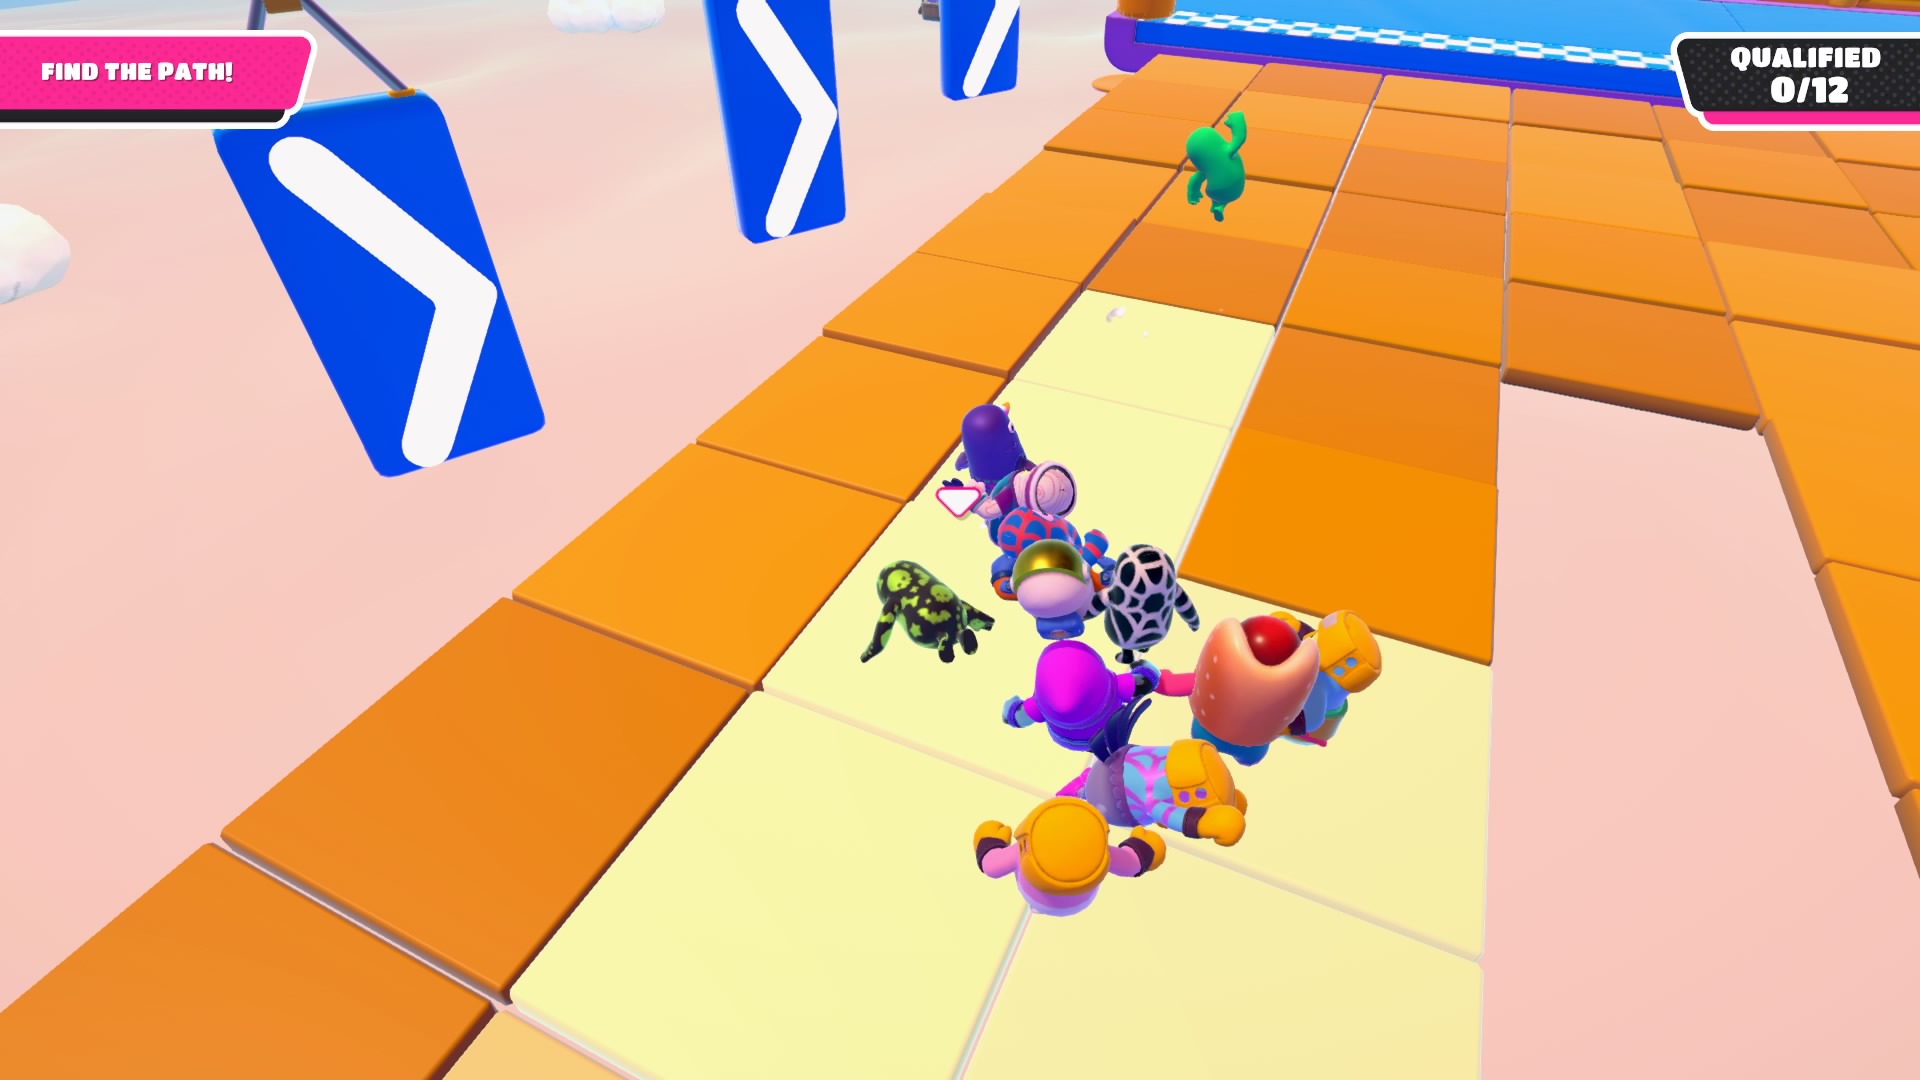
Tip Toe
Haha, oh boy. In this one, most of the tiles are fake, while the real ones are hidden until they light up when someone first steps on them (and staying lit up for a few seconds). It’s hard to tell which ones are fake other than the occasional shake, but you won’t be able to sit and wait until most around shake as others will push and shove you. The main obstacle here are your opponents as it’s easy to get pushed off as everyone crowds around the tiles and some will grab you and push you to a tile to test it out. So try to stay in the middle of the tiles as much as you can and don’t be shoved off when the path is almost revealed as you won’t have enough time to make it.
Remember, you can cut corners by jumping across gaps/fake tiles and there is a gap between the last real tile and the finish line.
The Whirlygig
You can get flung by the sweepers in the beginning, though be careful as you can easily be flung back. Otherwise, I recommend running in the opposite direction the sweepers are rotating so it’s easier to tell when to jump. You’ll then come across a small wall with a conveyor belt leading up to it. This is the only ledge you can grab and pull yourself up, but you can also jump on a block on either side and then jump to the platform.
This is a course with a couple of windmills that will launch you to the side if you’re caught in them. You can pretty much tell when to jump/dive through until the last windmill. The first windmill is the slowest, but if you do get caught by it, and it hits you hard enough, it can propel you over the wall. The last windmill is located in the middle and is fast. It’s best to stick to the left and try to dive when you think is right. If you’re lucky, you’ll make it. Otherwise, you’ll get flung to the side platforms with more sweepers that act as an alternative route. Then, you’ll just need to jump to the last platform when a huge windmill fan isn’t blocking your way.
See Saw
Just as the name suggests, this course is filled with seesaws. Every see-saw has a line in middle and whichever side players are on will cause the see-saw to tilt down. Due to this fact, this minigame can be quite annoying since it’s dependent on others helping in balancing the seesaws, but there is a trick to this. If, no when, you find yourself in a situation where the see-saw you need to jump to is tilted, don’t jump to it. This will cause your bean to constantly roll down without a chance to get up. The trick here is to dive instead. Assuming the see-saw isn’t tilted to the extreme, diving onto it will allow you to get back up as you already have a grip on it. Also, get out of the fall zone before some other player falls right on top of you.
If you have the option to choose between two see-saws, pick the one that is the least tilted. That way, you’ll be able to run to the next see saw quicker (as running on a tilted one will cause you to slow down) as well as not risk the chance of falling due to the see-saw being way too tilted. In addition, help your fellow players out and, in turn, yourself by trying to balance the see-saw. Yes, this is a race, but you won’t be able to make it to the finish line if you guys don’t work together in restoring balance.
Slime Climb
The hardest race course, but honestly my favorite. This course has slime that slowly rises and you’re disqualified if you touch it. Luckily, this has a lot of tricks you can do. Right at the beginning, there is a yellow bouncy triangle that you can easily jump on and get a head start as long as the pusher isn’t fully extended. However, don’t rely on making this jump. If it’s too crowded or people are being too pushy, go the normal way as the slime will catch up quicker than you think. Next, the balls rolling down are pretty easy to dodge as you can stick to either side and the first dip (which will usually catch those that hit the first pusher here) is low enough to where you can jump up onto this platform.
However, the next part is where everyone is filtered. After passing some conveyor belts with moving obstacles, you’ll come across balance beams. You need to be dead center, or manage to jump enough to make it to the next beam/platform, or else you’ll drop right back to the conveyor belt. It’s even harder with others trying. Due to how hard the balance beams are, the max amount of people that can qualify are never met.
Compared to the balance beams, the next part isn’t as bad. You’ll just be on a slippery surface with wrecking balls swinging. Try to take your time, don’t make any risky moves, and don’t let those pesky grabbers ruin your day.
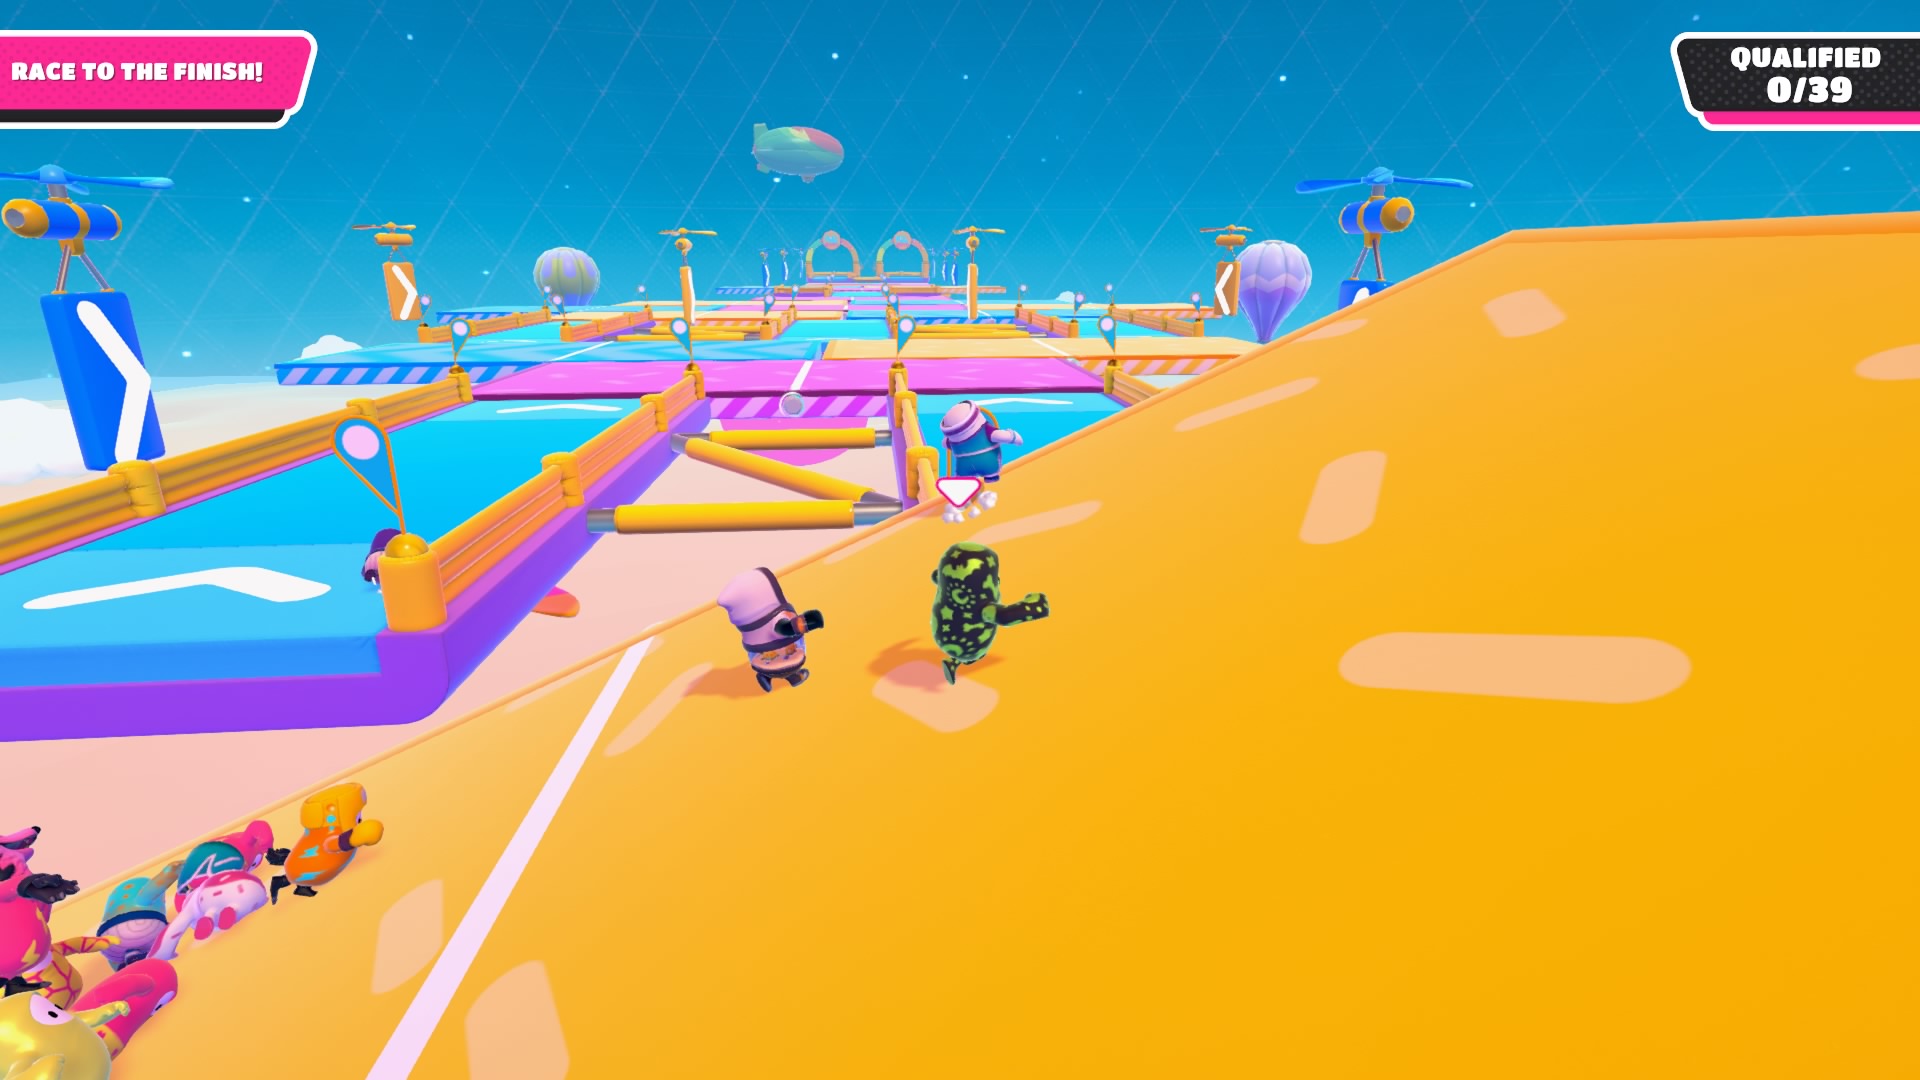
Fruit Chute
The second hardest race course. This will require you to run against a huge conveyor belt while fruit is constantly being launched at you. Keeping to the left or right will help you avoid most fruit as the pink bouncy pyramids can act as a shield for huge fruit. Plus you can avoid the rolling pretzel stick easily. Try to keep your eyes out on upcoming fruit to try and navigate around them and if you’re in a pickle, jump and/or dive to dodge them. Let’s just hope you don’t get hit so bad, you roll right down until you fall off the conveyor belt.
Survive
Jump Club
This is one where you’ll just be jumping over a rotating beam which increases in speed as time goes on. However, you can hit the top beam, which is moving slower than the lower one, if you’re not too careful. You can walk the same direction the beams are in the beginning, so you can minimize how much you need to jump and to let the top beam pass before jumping. It’s also important to try and stay away from those grabbing others. They have a tendency to keep a hold of you right before you would need to jump to get over the beam. Or worse yet, push you off the platform.
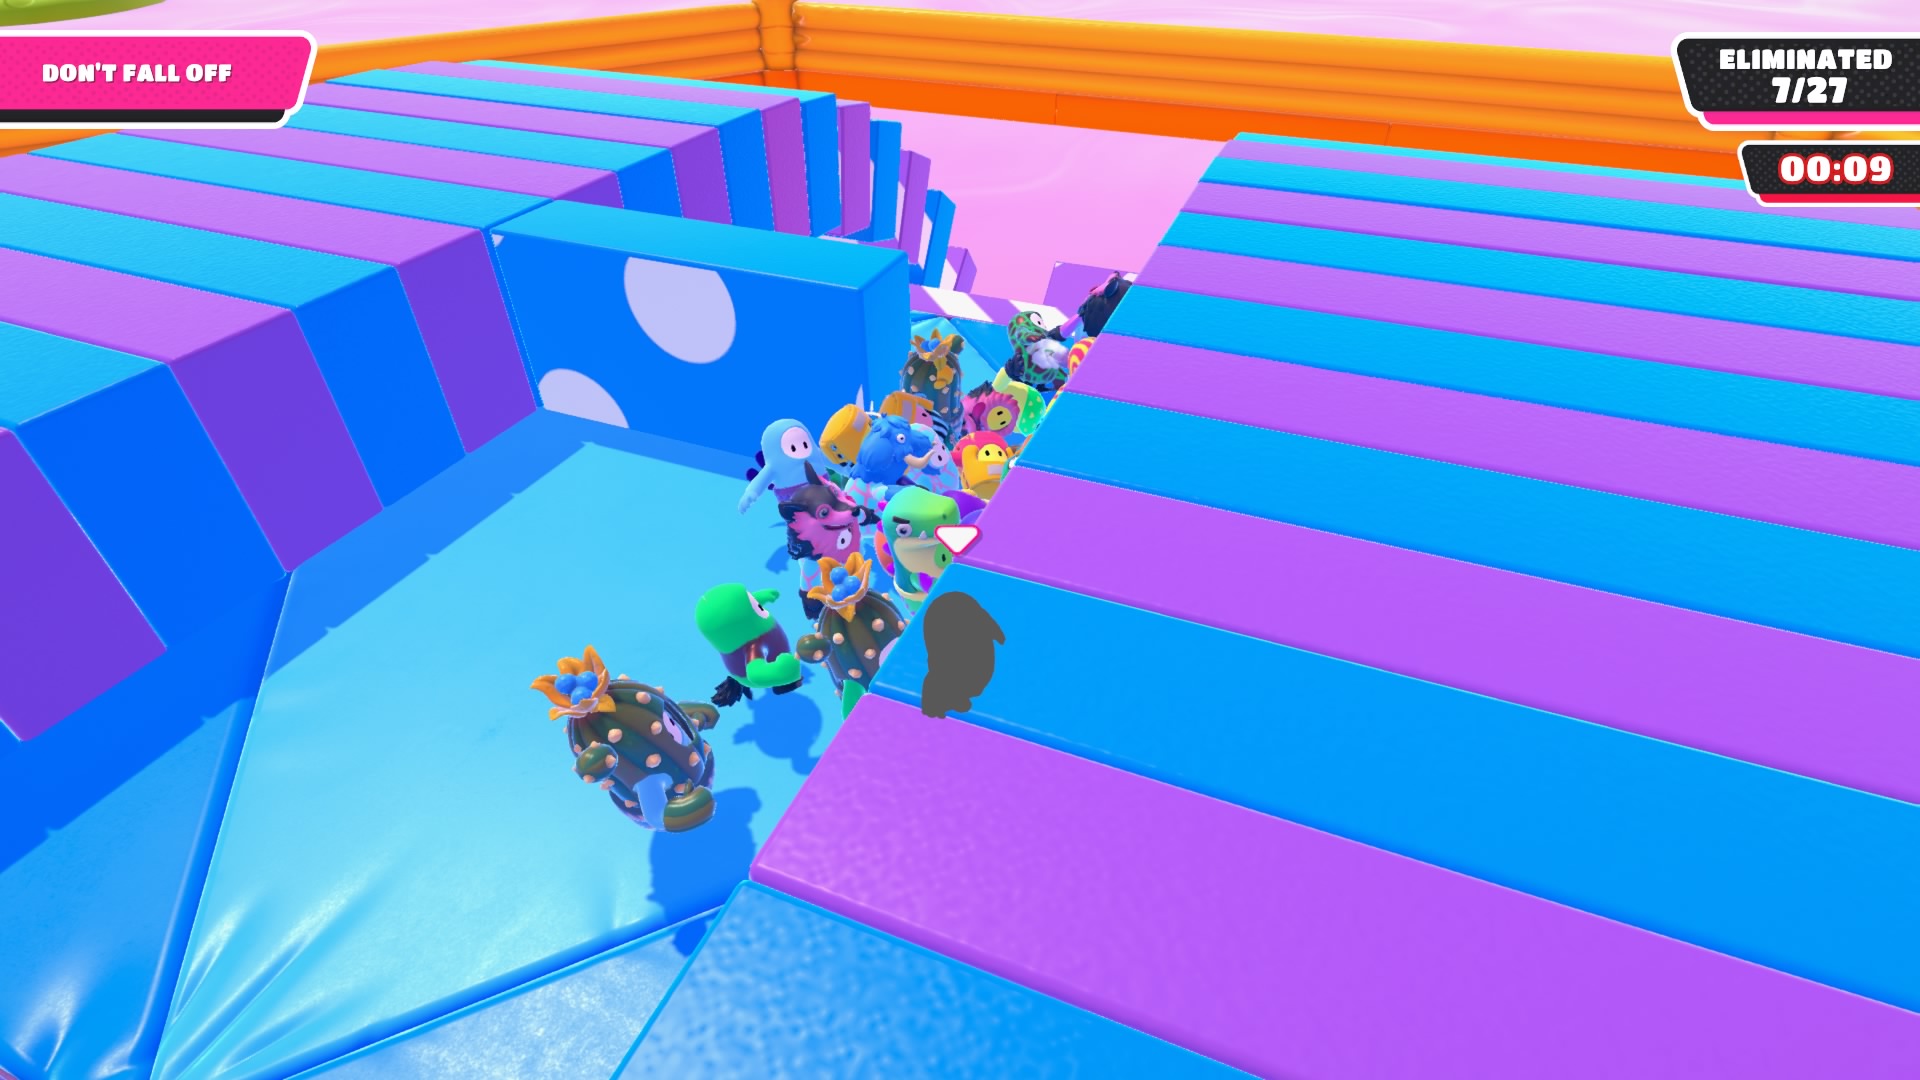
Roll Out
Pretty easy isolated, not so much around others. Everyone will be placed on a giant roller where each section is moving in a different direction and have different obstacles at a time. Best chance is to jump over the short gaps, you can jump early when there’s a wall after the gap, make sure to dive to make sure you make it over the gaps, and try to stay away from others. Some will grab you to make you fall.
Block Party
You’ll need to avoid blocks that are coming right in front of you. It’s easy in the beginning, as you just need to make sure you’re in the clear. Watch out for placements that block you in (two on the side, one flush in front). It gets hard once you need to jump over a low barrier as you have a chance at hitting another player mid-air. The last part is super easy to avoid as it’s just like the beginning, but more blocks. Make sure to dive jump if you think you can’t make it around the block corner.
In terms of positioning, it depends on you. At the beginning and end, it can be beneficial to be in the front as you can run along the blocks if needed, but it also helps being in the back as you have time to react before the block comes close. Though during the middle section, it’s best to stay between the front and the middle so you have time to jump (as well as recover if you need to), enough room to land on the platform, and avoid bumping into people. Though, I suggest making sure you’re not dangerously close to the edge, especially when the blocks only leave a small opening as you can easily be pushed off by the crowd.
You’ll also be at the mercy of grabby beans, so hopefully, they don’t grab you when you need to jump over barriers. While I don’t think there is a way to break a grab early, diving to the sides will help you not falling off in my experience.
Perfect Match
This one is pretty easy. You just have to memorize the fruit tiles around you and make sure you’re standing on the tile shown on the screen. Each round, you need to remember more and more fruit, not to mention not all the tiles are light up at the same time during the memorization phase. I recommend trying to position yourself where you can easily access all the different fruit. Other than that, try to memorize what’s around you and if you’re not sure go with the crowd. The crowd is sometimes wrong, but there’s more of a chance that they’re right.
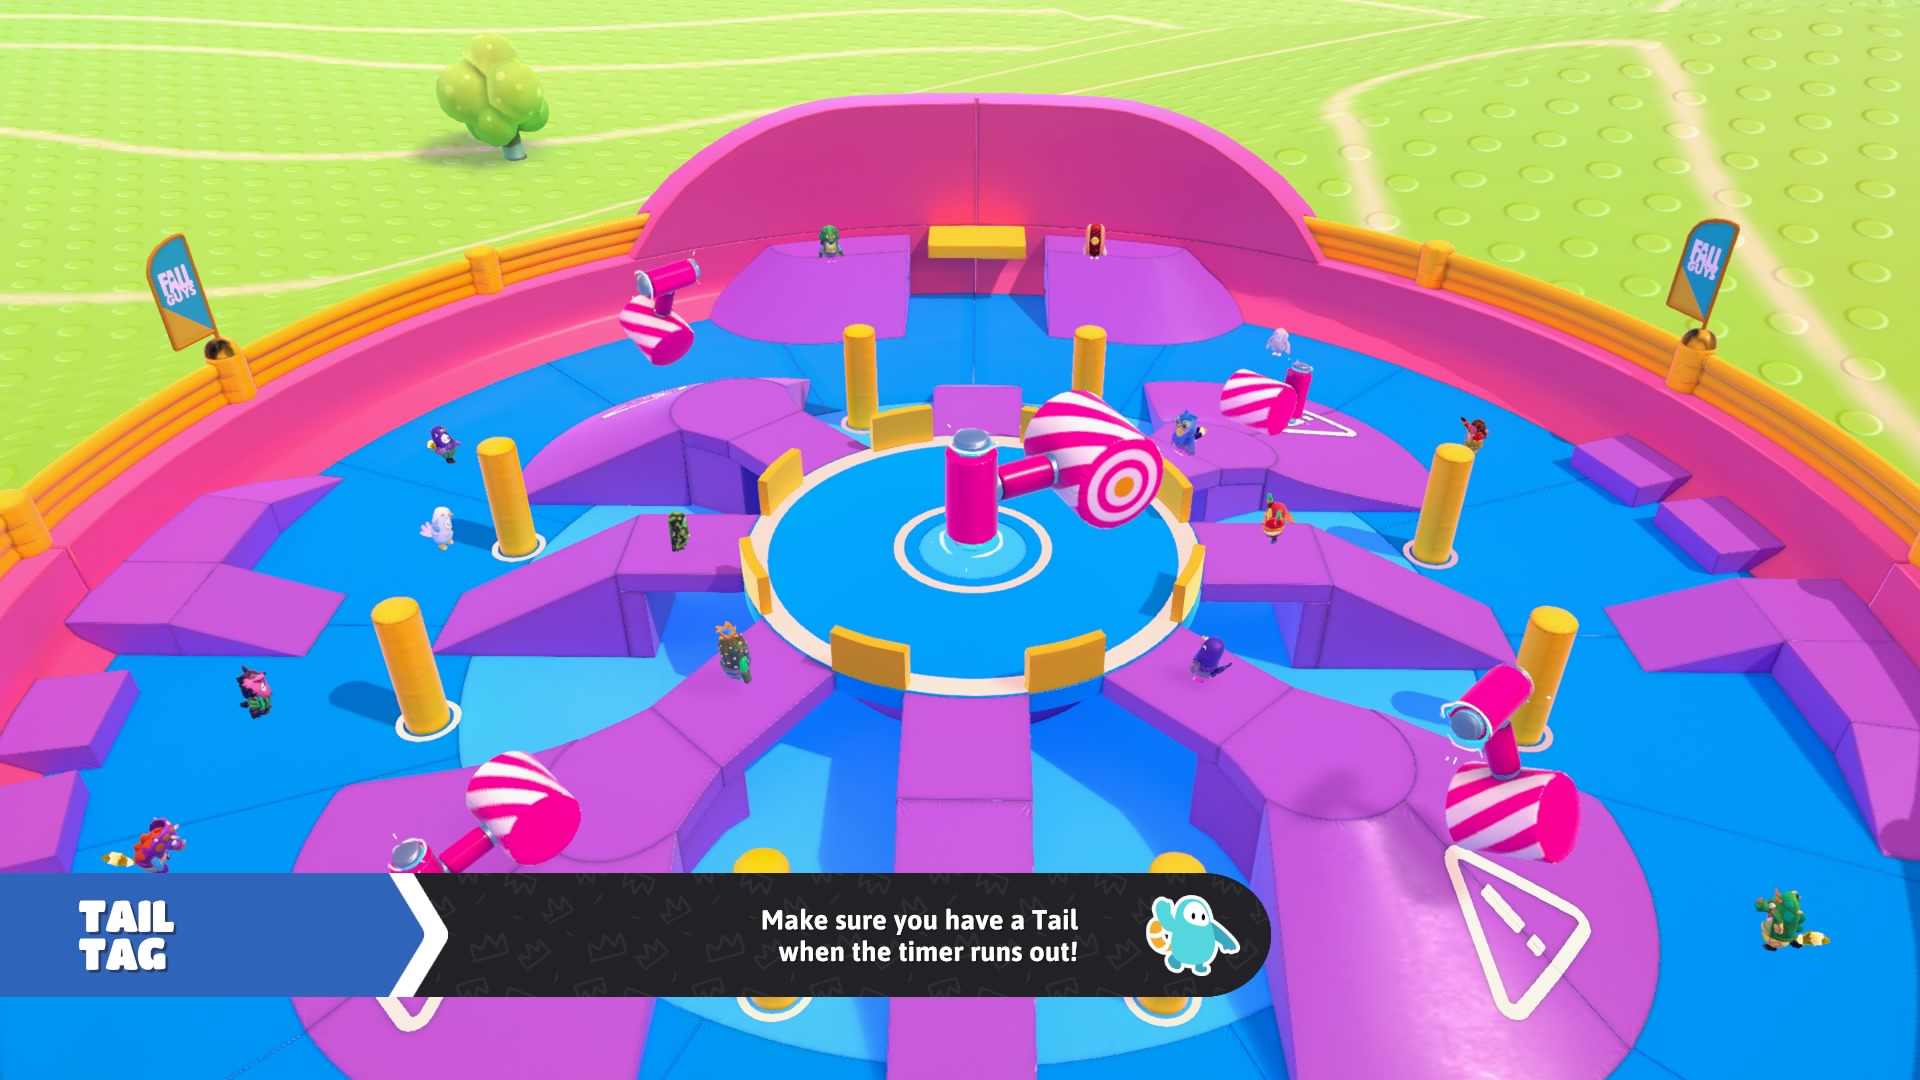
Tail Tag
Oh Tail Tag, you truly are the worst. This minigame will have players with tails and players without. If you end the round with a tail, you get to move on. A valid strategy that I use to win is to wait until the last 20-30 seconds before going for a tail. That way, you don’t have to run away for the whole game. When you do go chasing for a tail, try to grab those that are running towards you or even those that are around obstacles or jumping on the platforms on the edges. If you have a tail, try to not let anyone come close to you by passing through obstacles like standing in the middle of one of the swinging hammers.
Tail Tag is also the game that suffers the most from lag, which is the main reason this is hated within the community. At least on the PS4, though I have heard it’s a problem on PC, even if you grab someone with a tail it won’t give it to you sometimes. Requiring you to grab them again or hold onto them for longer that it should take. You can also get your tail grabbed even if the person that grabbed it was not around you.
Team
Oh the dreaded team games. Your win isn’t just based on how good you are, but how good your team is. Before I have to write this for everyone minigame, winning will depend on your teammates being good players.
Egg Scramble
This is one where you’re dropped in a big arena with a bunch of eggs in the middle. At the beginning, try to grab an egg in the middle to bring it back to your team’s nest. Once all of them are gone, you can help your team in two ways. Make sure there is at least one person in the nest acting guard or take up the role yourself. This will give stealers from the other team a harder time as the guard will mess with their ability to get out by grabbing them.
Otherwise, go out and steal from other team’s nest. Which one should you go to though? Well, that’s not a straight answer. Sometimes, both nests will be swarmed while the one with the most eggs will be. So the best bet is to go for the one with the least or the team that everyone else decided to pick on. Also, don’t just go for the golden eggs. It’s nice if you can grab one and take it back to your nest, but if it’s being crowded go for the regular eggs. If you’ve played this mode before, I’m sure you know how hard it is to get out of the nest with an egg (and not with a guard grabbing you before you can jump out). I found that if you’re right on the edge you’ll have a hard time jumping onto it so jump a little further back. If you’re especially devious, you can throw the eggs out of the nest. After all, it only matters which team has the less eggs.
Also just hope you’re not the team that everyone decided to pick on.
Fall Ball
This is the soccer game where two balls will be in the arena at the same time. This is a minigame where it’s important to have people filling the two roles: goalie and kickers. Having a goalie is important as if the other team manages to slam it close to the goal it’s hard to catch up to it. Once it lands on that dip and there’s no goalie there, it’s a score for the other team. Having a goalie will give your team a better chance, even if they (or you) aren’t that good at it. For kickers, jumping and diving into the ball will give it more momentum. It’s especially helpful if you’re jumping up as the ball is falling down. I haven’t had it happen in any of my games, but I’ve heard that if you time it right, you can get an easy goal by jumping up to hit a recently spawned ball as well.
There will also be times where a football or a giant huge egg will dropdown. I’m not too sure if the football gives you more than 1 point, but the golden egg gives you 5. Scoring with a golden egg pretty much guarantees your team the win.
Hoarders
This is a minigame where your team tries to hoard as many balls in your zone. You can gather momentum the same way you do in Fall Ball. Personally, though, I find this less about your team hoarding the most, but making sure your team doesn’t have the least. Just like Egg Scramble, the game doesn’t care which team hoarded the most, just the one that had the least. So as long as your team isn’t the one losing, it will still help your team out even if you hit a ball into another team’s area.
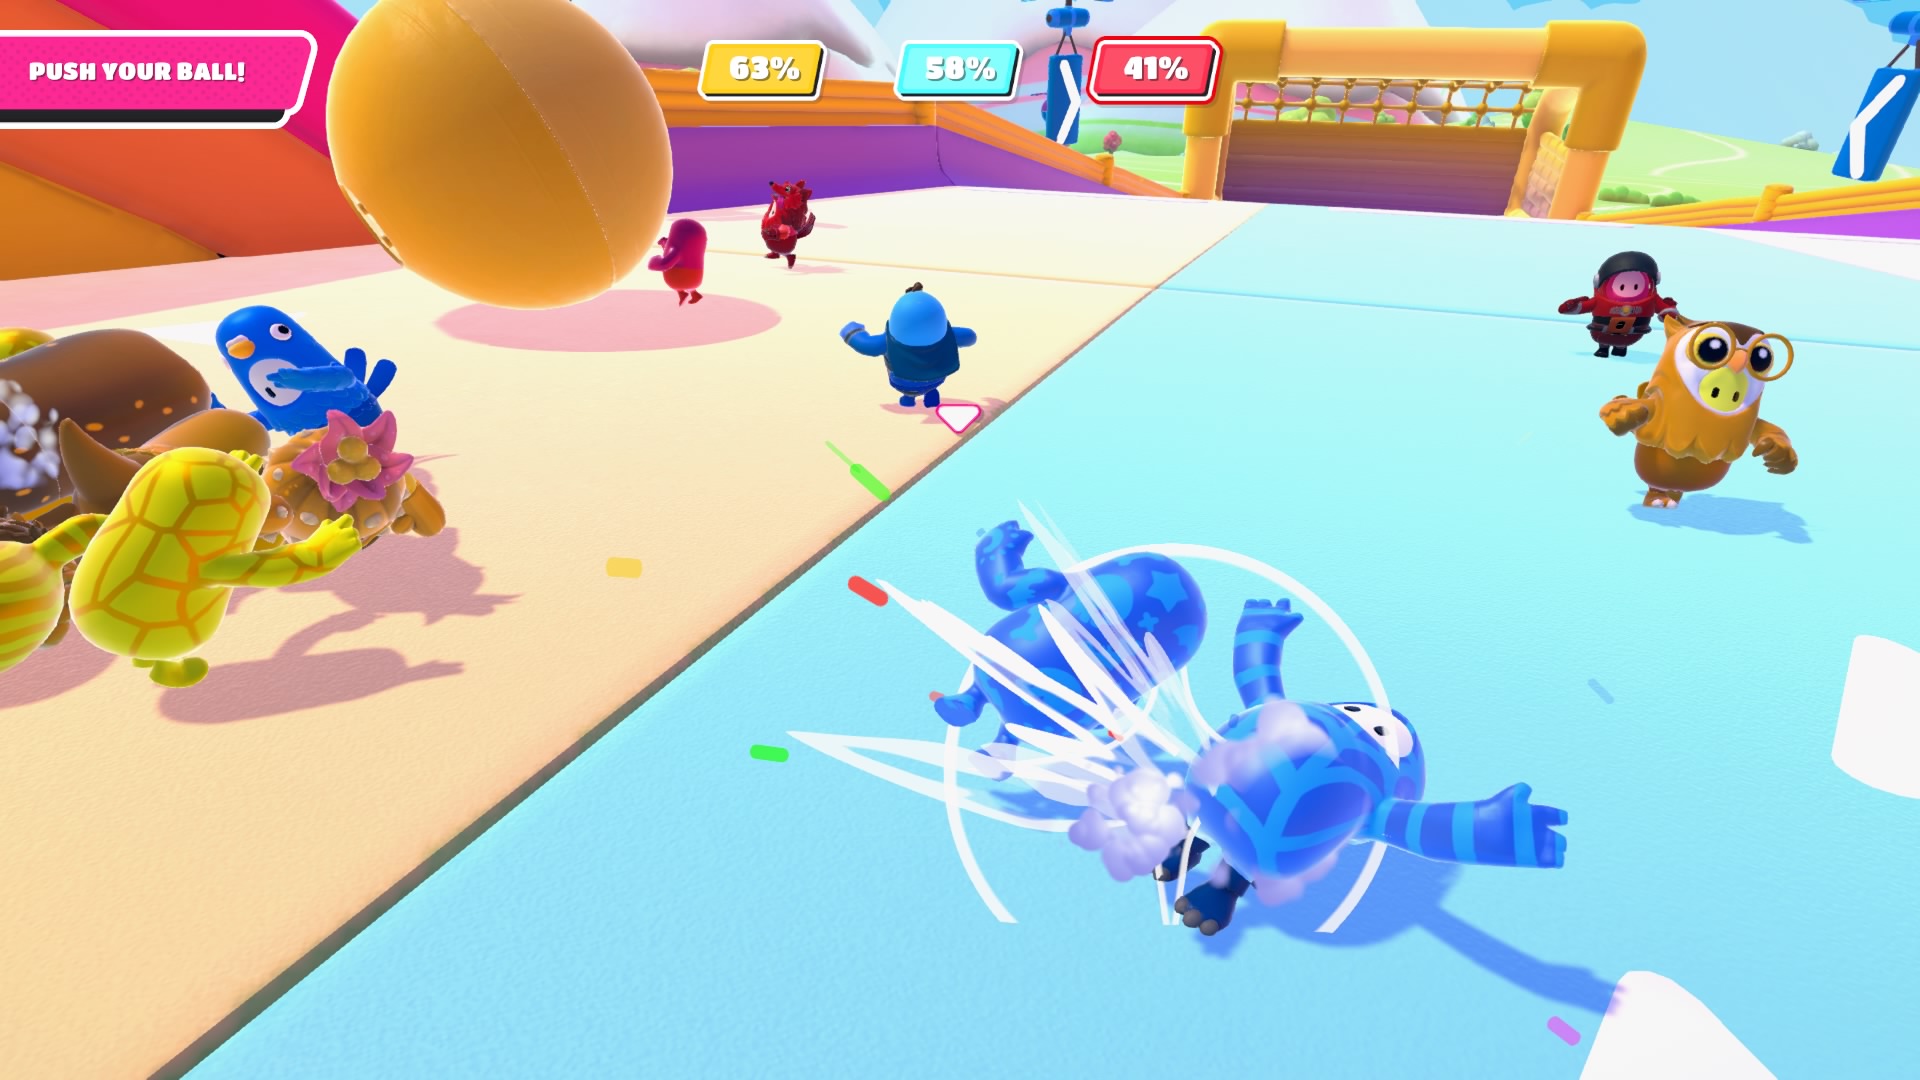
Rock N’ Roll
This one will have your team trying to push a ball right into the finish line. Unlike Fall Ball and Hoarders though, you can only push these as jumping/diving into them will do nothing to push it faster. The first part is pretty easy as you’re just pushing the ball past obstacles with your teammates. Just try to do your best. However, its when you get to the other half that it gets crazy. In the beginning, every team is separated, but you guys merge in the second half. This is where other teams (and your teammates) will try to sabotage the other teams by blocking their ball’s path. If the other teams are especially vicious, they can even push it into a corner.
In addition, not everyone has to be rolling the ball. It doesn’t hurt your chances if a teammate runs ahead to get ready to sabotage another team.
Hoopsie Daisy
Jump through as many hoops as possible while also hoping your team does as well. The best tip I can give you is to keep a constant lookout for hoops around you and in the side you’re on (in situations where no one is running in a certain area). Go for hoops that you’re closest to. You can also just dedicate yourself to an area. Also, keep in mind that some hoops do require you to dive off from a ramp to reach them or use the rotating platform.
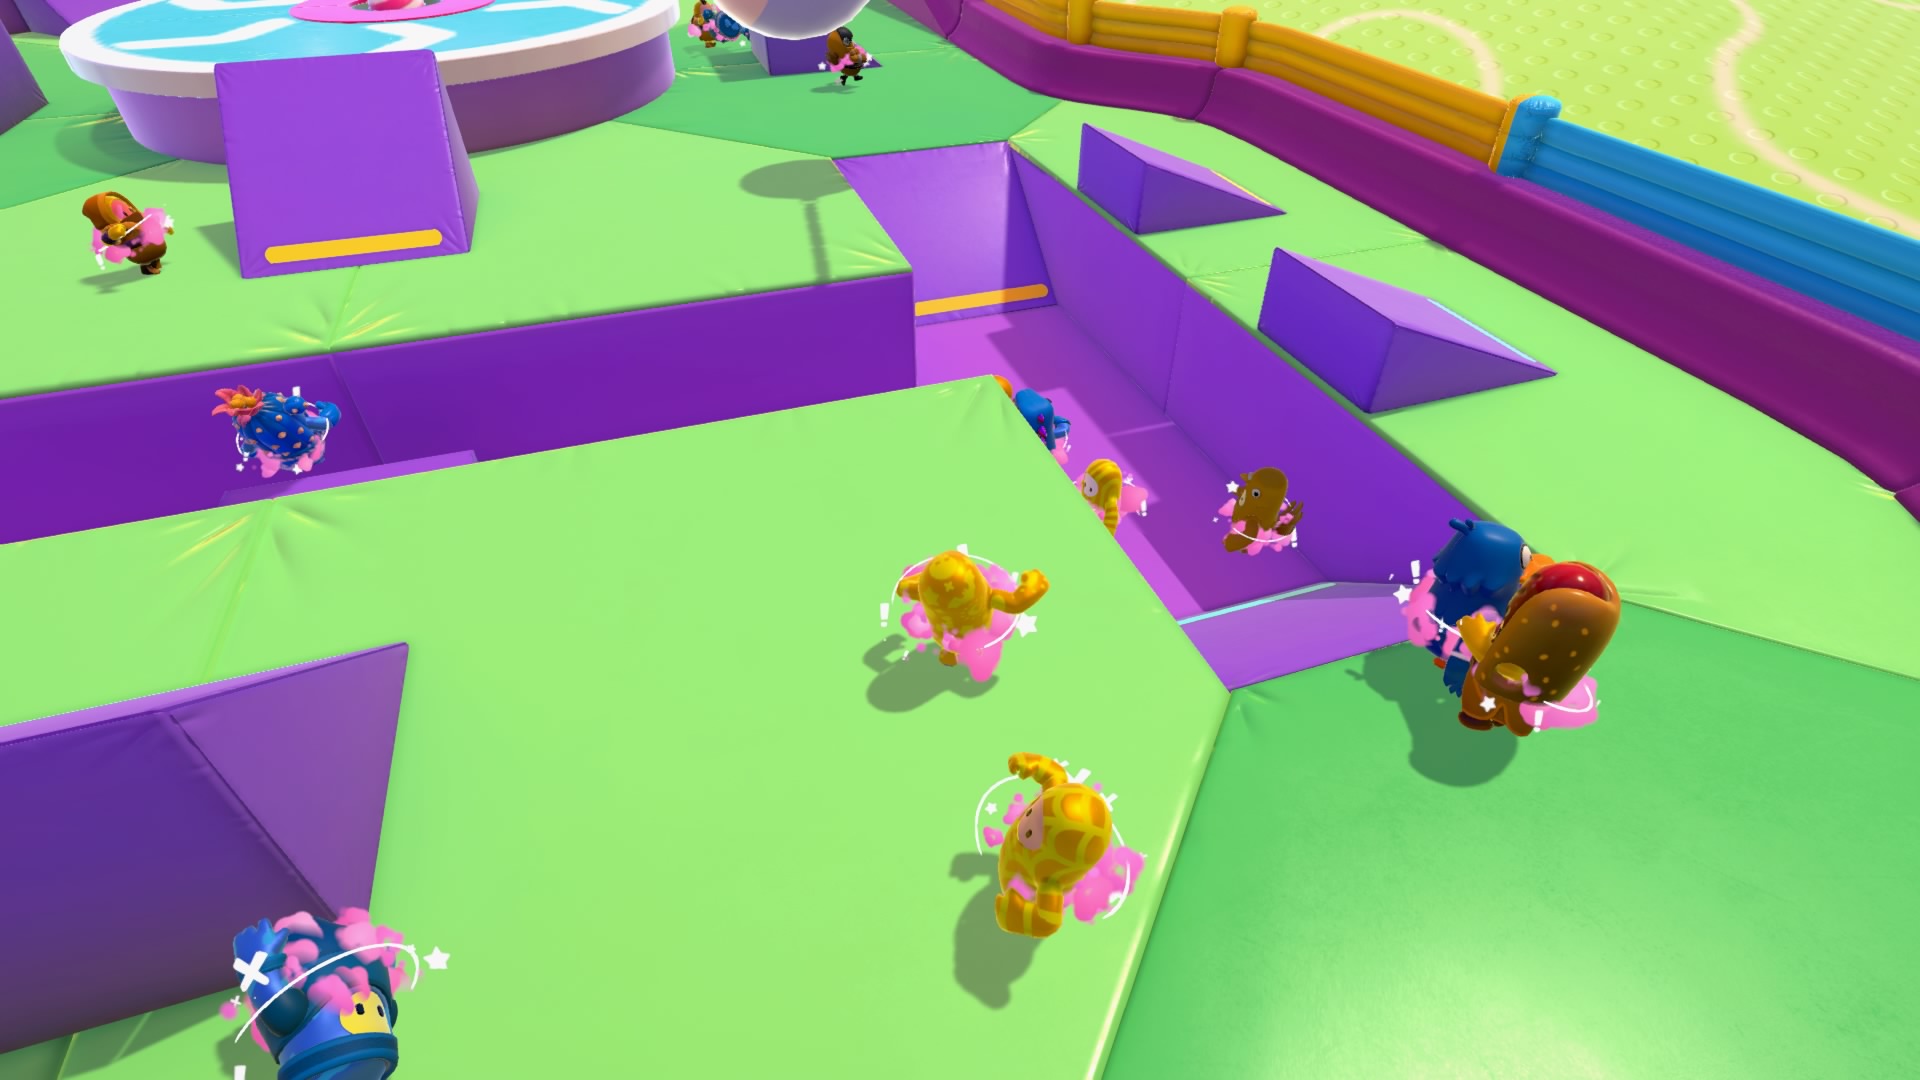
Jinxed
This one is basically tag as you and your teammates need to keep themselves from being jinxed (unless you’re the randomly selected patient zero). If you’re not jinxed, do your best to stay away from the jinxed, who are the players with pink clouds around them. Early on, you can stand around the platforms with moving obstacles or run on the rotating platform, but once a lot of people get jinxed keep moving (as well as if a jinxed person starts coming after you). Just do you best at keeping away from those jinxed and don’t get into a situation where you stop. Though, the dreaded lag tag can hit you. If you get jinxed, well run after anyone that isn’t jinxed and look out for anyone that you can easily tag (assuming you don’t get jinxed late into the game).
Luckily, while your teammates can still grab you, they can’t jinx you.
Team Tail Tag
Oh man, tail tag. This is just like tail tag, but you’re working with a team. Whichever team has the less tails will be eliminated. Here, there are (weirdly) four teams so if you don’t have a tail, consider taking one from a team with the least at that moment. Some players will hide where there are swinging hammers and if you can time it right, you can catch them with their guard down. Also you can take your own teammate’s tail. Not useful if you’re just taking it just because, but there are situations where it can (like if they’re getting ganged up on).
So you got the tail and want to keep it. One of the good places is around the hammers as most players can’t correctly time it out, though make sure you can in case you need to run. Otherwise, keep moving. Don’t be afraid to cut corners and try to get anyone chasing you to get hit by a hammer. If you’re on the conveyor belt and want to move back up, make a smooth transition as trying to go back will slow you down. Though, you can easily fall victim to the dreaded lag grab.
Final
Fall Mountain
Fall Mountain aka the only final round I’ve won at. This is dependent on your ability to avoid obstacles and somewhat your spawn point (you can still get ahead if you spawn in the back though). Other than avoiding the balls, try to go with the obstacles and not against. When you get to the hammers, and happen to be on the sides, you can slip past the first/last hammer placed.
When you reach the crown, grab it. Touching it is not enough.
Royal Fumble
Sigh, tail tag. This time around, there is only 1 tail for 4 people. Like with regular tail tag, if you don’t start with a tail, one valid strategy is to just wait until the last 20-30 seconds before going after a tail. Otherwise, if you’d rather not try your luck, try anticipating where they’ll run to or keep on their tail for moments when they fumble. If you’re the tail holder, use the arena to your advantage, plus it’s pretty easy to hide since there are only 3 other people. Just hope you don’t get lag grabbed.
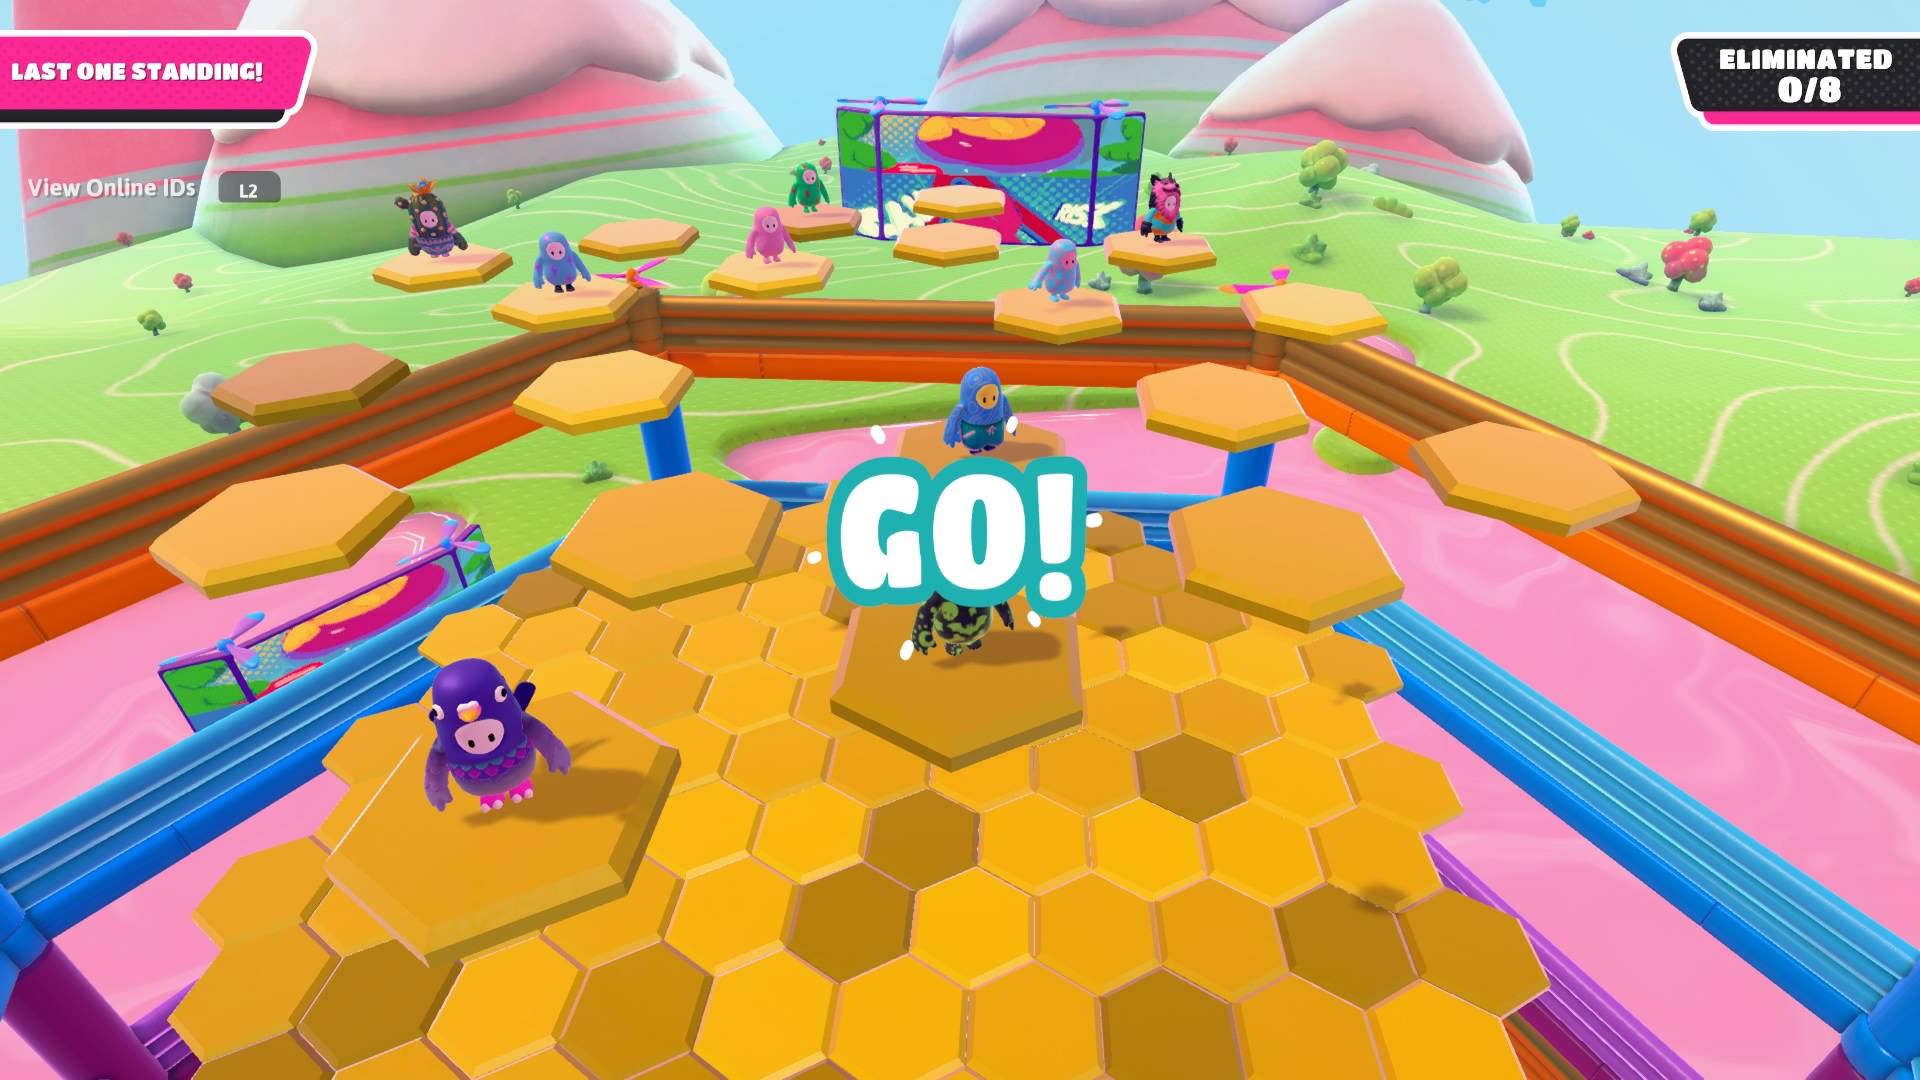
Hex-A-Gone
Hex-A-Gone is a community favorite, but this one can be pretty hard for some. You’ll be running on multiple layers of tiles that disappear after a second or two of running on it, with the winner being the last one alive. With this one, you not only have to be aware of what you’re doing and making sure you’re giving yourself room to stay on that layer, but also what everyone else is doing. The first layer you’re on is where you spawn at and a quick tip is that you can jump to an unoccupied tile. When you’re actually on the layers, keep an eye on everyone else, make sure you’re not blocking yourself off from tiles you can jump to, try to corner anybody that comes near you, and try to land where there are tiles when you do fall. Though, if you fall first you can take tiles away so your opponents will have more of a chance to fall through. Diving is also useful, but sometimes you get up too slow and sometimes you get up right on time.
You can also delay jump by jumping from tile to tile rather than running across them. Doing this is risky if you’re not the only one on that layer or there are people on the layer above you as they can cut you off from the other tiles.
Jump Showdown
This is like Jump Club, where you’ll be jumping over a constantly moving beam, but with a twist. In this final version, there are two beams you need to jump over and floor segments will fall down into the slime. The best tip that I can give is jumping to make sure you’re jumping over the beams and you’re not standing on a floor segment that is shaking. If you also happened to be sectioned off early on, like I was the first time I played this minigame, don’t worry. It looks like the segments won’t fall if it detects player(s) standing on it for a long period as well as if there are no connecting segments. Once it whittles down to at least 2 remaining players on two different segments, the game fairly waits until one of you jumps off.
Of course, if you’re on a segment with another player, they can and will try to grab you to either push you off or not give you enough time to jump. In this case, you can either hope they honor the unspeakable code to not maliciously grab others, sabotage them first, or make sure you’re not trapped with others.
Good luck! I hope this helps!